Oh my goodness has it actually been 12 days since my last post! WOW! Just shows you how busy it has gotten around here. My birthday was on the 2nd and we went out to The Olive Garden (my all time favorite place to eat) with our friends Ben and Kara. We had conference weekend on the 6th and 7th, and the in-laws came for a visit. But in between all that I've started a new hobby/business opportunity for myself. I am planning on using the extra money to pay for the built ins I want to make around our fireplace in our living room. I've got BIG plans! and I can't wait to get started.
I have taken up furniture refinishing. and my first victim was this $7.00 coffee table I found at my local thrift store. It wasn't too bad but it was missing a couple corner pieces and had its share of scuffs and scratches. But I knew I could add some new corner pieces and the scuffs and dings in the wood didn't worry me since I'd be sanding them off.
So the first thing I did was sand off the sticky stuff and gunk that was baked on the top and then applied some paint/finish stripper. I worked in small sections because if the solution dries too much it won't come off. I used Jasco's spray paint and epoxy remover just to see how I liked it but I'd recommend the old fashioned paint on with a brush kind. It didn't remove the finish as evenly unless you used up a TON of the spray and it was much cheaper and effective going the other way.
after the stripper sits for the suggested amount of time I took a putty knife (metal works best just be careful not to gouge the wood) and scraped all the stuff off. It was a long process but it was well worth the effort!
After it was all dry I went over the whole table with my sander and then wiped everything off. I was almost temped to stop here and just apply my polyurethane finish. The wood looked so pretty! But no, I had plans for this baby!
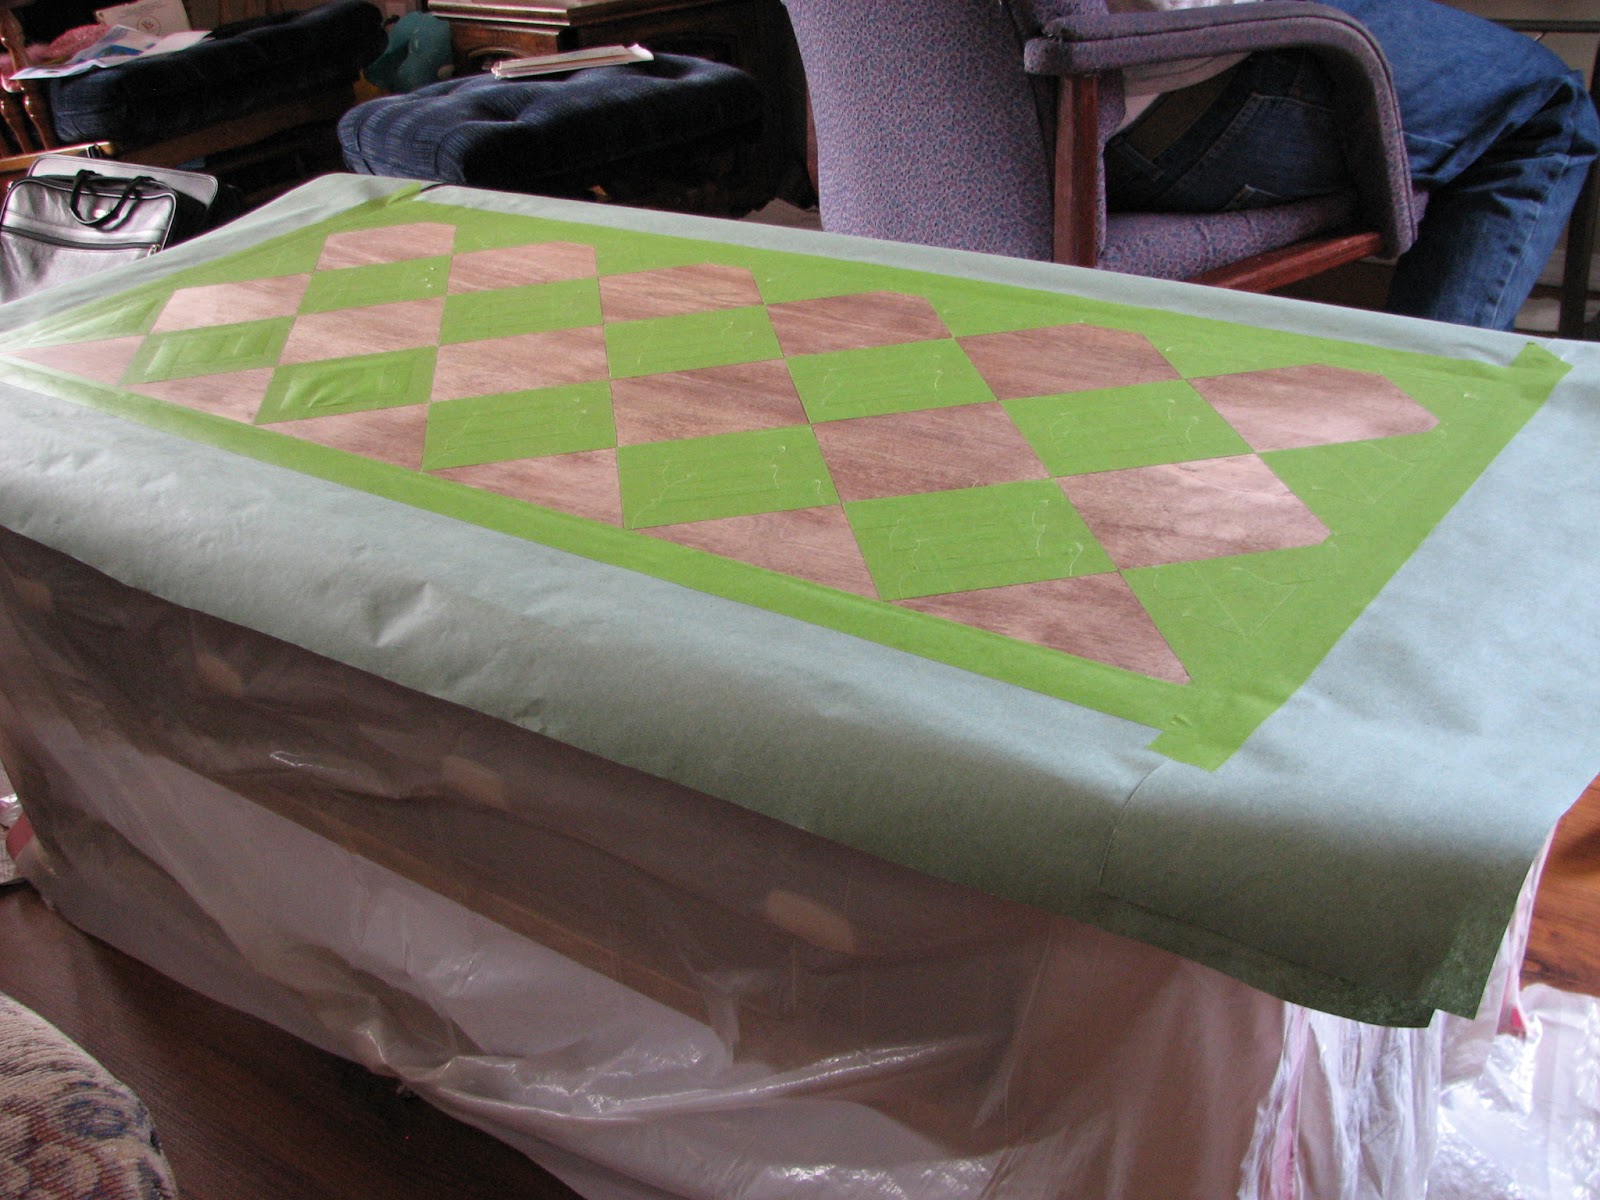
I got some frog tape at Lowe's (and I'll just say this stuff is amazing!!!) It was on the spendy side for what I am used to paying for tape but worth EVERY PENNY! I needed something that wouldn't let anything seep under the tape. Next, I spent a good 2-3 hours taping off my checker design on the table top. (I had Dan help carry the table inside to our living room so I could tape it off while we watched some shows on Hulu late at night. Dan was fast asleep by the time I was finished but if you know me I have to keep going until I reach a good stopping point. I think I was finished about 2:00 in the morning. I thought it even looked good with the green tape! :) just kidding
Next the table went back in the garage and I masked the rest of the table off with some kitchen trash bags that I cut open and some masking paper. I wanted to be sure I didn't drip any stain outside of where my checkers would be.
Then it was time for the fun part!! I love staining! I did 3 coats of stain (with drying time and light sanding with steel wool inbetween coats) until I got the color I wanted which was to match the drawers on the front of the table. (I didn't strip the drawers because they weren't made out of real wood and I didn't want to try and stain pressed board when they were already in pretty good shape).
This is a picture after just one coat.
The table is just about done. I'm just waiting to do 2 more coats of polyurethane but I'm waiting on my hubby for that because we just got a new toy! We bought a sprayer to hook up to our air compressor and he's going to show me how it works first. I just need to get the right quick release coupler for the hose. I am so excited and am so happy with how it is turning out! I especially love it with the one coat of poly I've already brushed on because it turns the wood a bit of an amber color that is so yummy!
I plan on reselling the table for at least $200 but we'll see what happens.


1 comment:
Did you sell the table?
Post a Comment